How to Take Menu Photos That Sell — With Just Your Phone
You don't need a pro photographer to make your food look irresistible. A practical, no-gear guide to shooting menu photos that get people to order — using the phone in your pocket.
How to Take Menu Photos That Sell — With Just Your Phone
A hungry person deciding where to eat is really just scrolling through pictures. They open your menu, your Instagram, your Google listing — and in a few seconds their eyes have already picked what they want, or decided to look somewhere else. That decision is made almost entirely on photos. Not the price, not the description first. The photo.
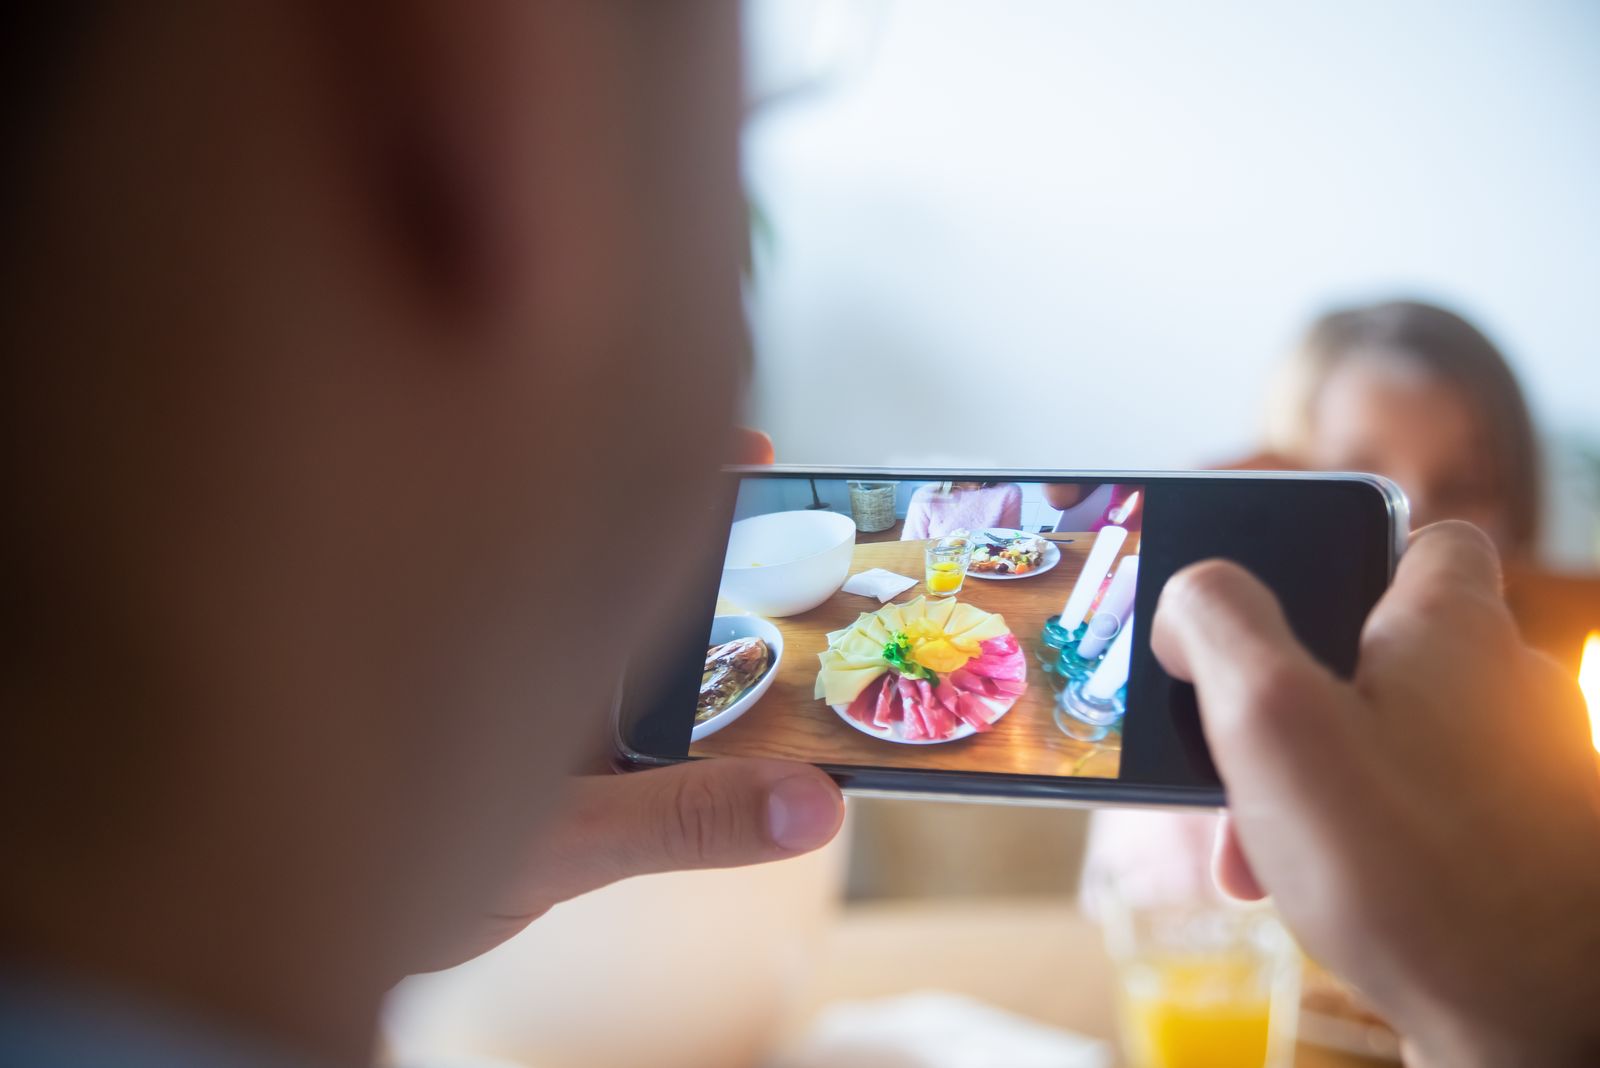
Which is why one of the highest-return things you can do this month costs nothing but an afternoon: shoot proper photos of your best dishes. And no, you don’t need a photographer, a studio, or a fancy camera. The phone in your apron pocket is more than good enough — if you use it well. Here’s exactly how.
Why photos beat words every time
You already know a good menu description helps. But a photo does something words can’t: it removes doubt. A guest reading “grilled halloumi with pomegranate” is imagining it — and their imagination might be wrong, or boring, or worried. A clear, appetising photo of that exact plate replaces all that uncertainty with desire. They can see the char on the cheese, the glisten, the portion size. There’s nothing left to talk themselves out of.
This matters even more on a digital menu, where photos aren’t a luxury — they’re the whole point. A dish with a good photo consistently outsells the same dish without one, often dramatically. Guests order what they can see. Give them something worth seeing.
The one thing that matters most: light
If you remember nothing else from this article, remember this: good food photography is really just good light. Everything else is secondary.
And good light, for food, means soft, natural, daytime light — not your phone’s flash, not the warm orange bulbs over your tables, and not the fluorescent tubes in the kitchen. Those all lie about colour and cast harsh shadows that make food look greasy and flat.
Here’s the whole trick:
- Shoot near a window, during the day. Find the biggest window you have. Put the plate on a table beside it, so the light comes from the side — never from behind you, and never from directly overhead.
- Never use the flash. It flattens the food and turns it a sickly colour. If it’s too dark, you need a bigger window or a brighter time of day, not the flash.
- Soften harsh sun. Direct midday sunbeams are too much — they blow out the highlights. If the light is hard, tape a sheet of plain white paper or a thin white cloth over the window. Instantly softer, more flattering light.
- Bounce light back. The side away from the window will be a bit dark. Prop up anything white — a sheet of paper, a napkin, a menu — on that side to bounce light back into the shadows. This one cheap move makes a huge difference.
Do this and you’re already ahead of most restaurants in your city.
Set the scene in 60 seconds
You’re not building a film set. But a few small choices make a plate look considered instead of accidental.
- Clean the plate rim. Wipe away every drip and smudge before you shoot. On a phone screen it’s the first thing people notice.
- Use a calm background. A wooden table, a plain surface, a bit of linen. Avoid busy patterns that fight the food. The food is the star; everything else supports it.
- Add one or two human props. A fork mid-bite, a cup of coffee at the edge, a hand reaching in, some crumbs and a folded napkin. These make it feel real and alive, like a moment rather than a product shot.
- Keep it fresh. Food dies fast on camera. Herbs wilt, sauces skin over, ice cream melts, steam vanishes. Shoot the moment it’s plated. Have the plate styled before it comes out, so you’re ready.
Angles: match the angle to the dish
There are really only three angles you need, and each one suits a different kind of food:
- Straight-on (side view) is for tall, layered food: burgers, stacked pancakes, a loaded sandwich, a pint. It shows off the height and the layers.
- The 45° angle is the “sitting at the table” view — how the dish looks to someone about to eat it. It’s the safe, natural default for most plated meals.
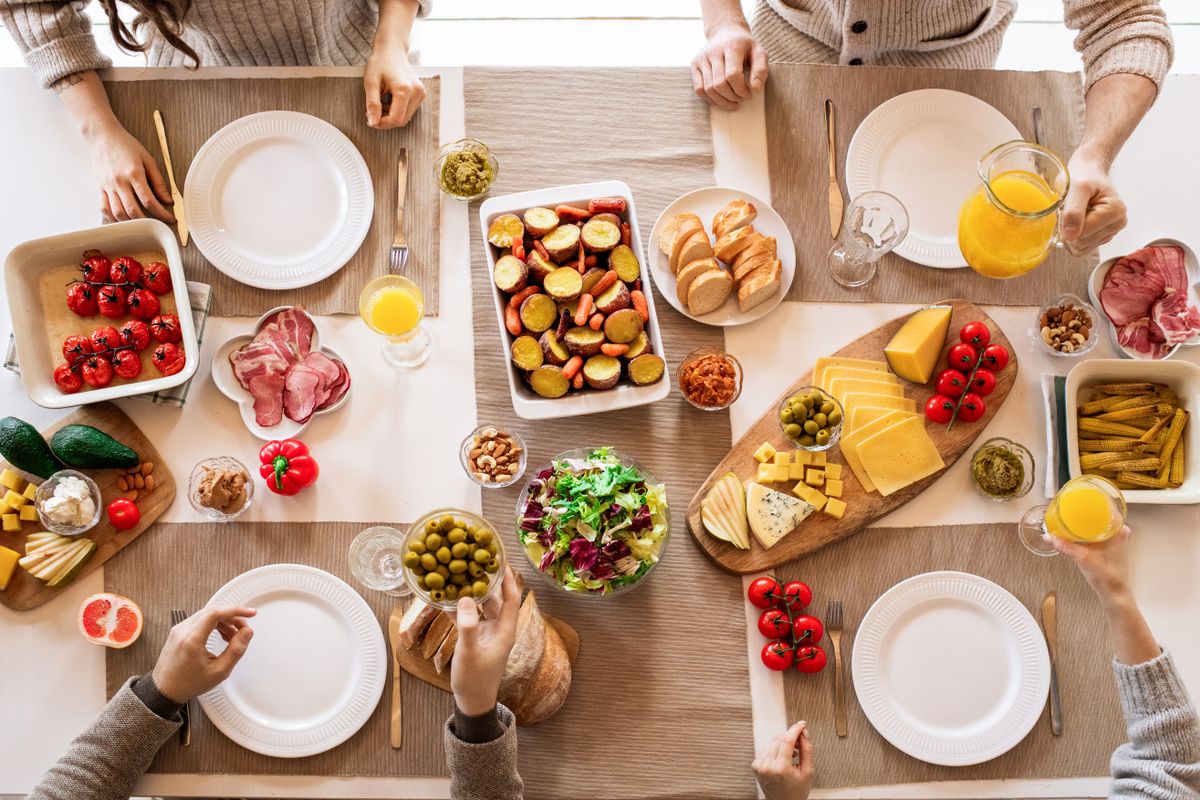
- Overhead (flat-lay) is for flat spreads: pizzas, bowls, a table full of mezze, a colourful salad. It’s perfect when the beauty is in the arrangement.
Take a few frames at each and pick the winner later. Storage is free; a reshoot is not.
A few phone settings that punch above their weight
Your phone camera is smarter than you think. A couple of small habits:
- Tap to focus, then set exposure. Tap the dish on your screen so it’s sharp, then slide the little brightness control down a touch. Slightly darker almost always looks richer and more appetising than too bright.
- Turn on the grid and line the plate up on the lines — it keeps your shots straight and balanced.
- Get low and close for that blurry background. Portrait mode (or just getting physically close with the focus on the food) throws the background soft and makes a single hero dish pop.
- Clean the lens. Genuinely. Your phone lens is covered in pocket and fingerprint smudge, and it’s quietly fogging every shot. Wipe it first.
Editing: enhance, don’t fake
A light edit takes a good photo to a great one. The goal is to make the food look like the best version of itself — the way it looks in real life on a good day — not to invent a dish you don’t serve.
- Nudge up brightness and contrast a little so it’s crisp and clear.
- Warm it very slightly if it looks cold or blue; pull it back if it looks orange.
- Bump shadows up a touch to recover detail in the dark parts.
- Don’t over-saturate. Neon-red tomatoes and radioactive-green herbs scream “fake.” Keep colours believable — the disappointment of a real plate that looks nothing like the photo costs you more than a slightly duller photo ever would.
Free apps like Snapseed or Lightroom Mobile, or even your phone’s built-in editor, are all you need. Find a look you like and apply it consistently so your whole menu feels like one restaurant, not a patchwork.
Great photos deserve a menu that shows them off
Lekro turns your dishes into a beautiful digital menu where every photo pulls its weight — no design skills needed. Upload your shots and go live today. Start free.
Start with your ten best sellers
Don’t try to shoot the whole menu in one go — you’ll burn out by dish four. Start with your ten best-selling and highest-margin dishes, the ones that actually make you money. Photograph those beautifully first, get them onto your digital menu, and watch what happens to orders.
Then, every week or two, add a few more between shifts. Within a couple of months you’ll have a full menu of photos that do the selling for you — quietly, on every phone in town, at every hour you’re open. All from the camera you already own.
Tags