Editing Your Business Profile
Your name, logo, description, and web address all live in one place. Here's how to edit them.
Editing Your Business Profile
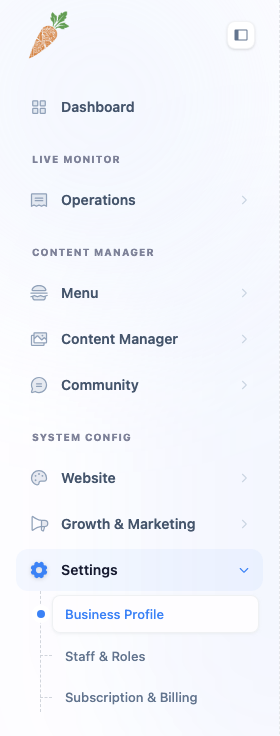
Most of what a customer learns about you before they walk in — the name in their search results, the logo on your menu, the photo that shows up when someone shares your link — comes from a single screen: Settings → Business Profile.
It’s one page with a row of tabs across the top. This guide covers the first tab, Basic Info, and a couple of things about how the page behaves that apply to every tab.

Two things to know before you change anything. First, your edits aren’t saved as you type — make a change and a small Save bar slides up from the bottom of the screen. Nothing is written until you click it, and you can switch between tabs with edits still pending; the save bar follows you. Second, once you do save, it’s live. There’s no separate “publish” button.
Logo and cover photo
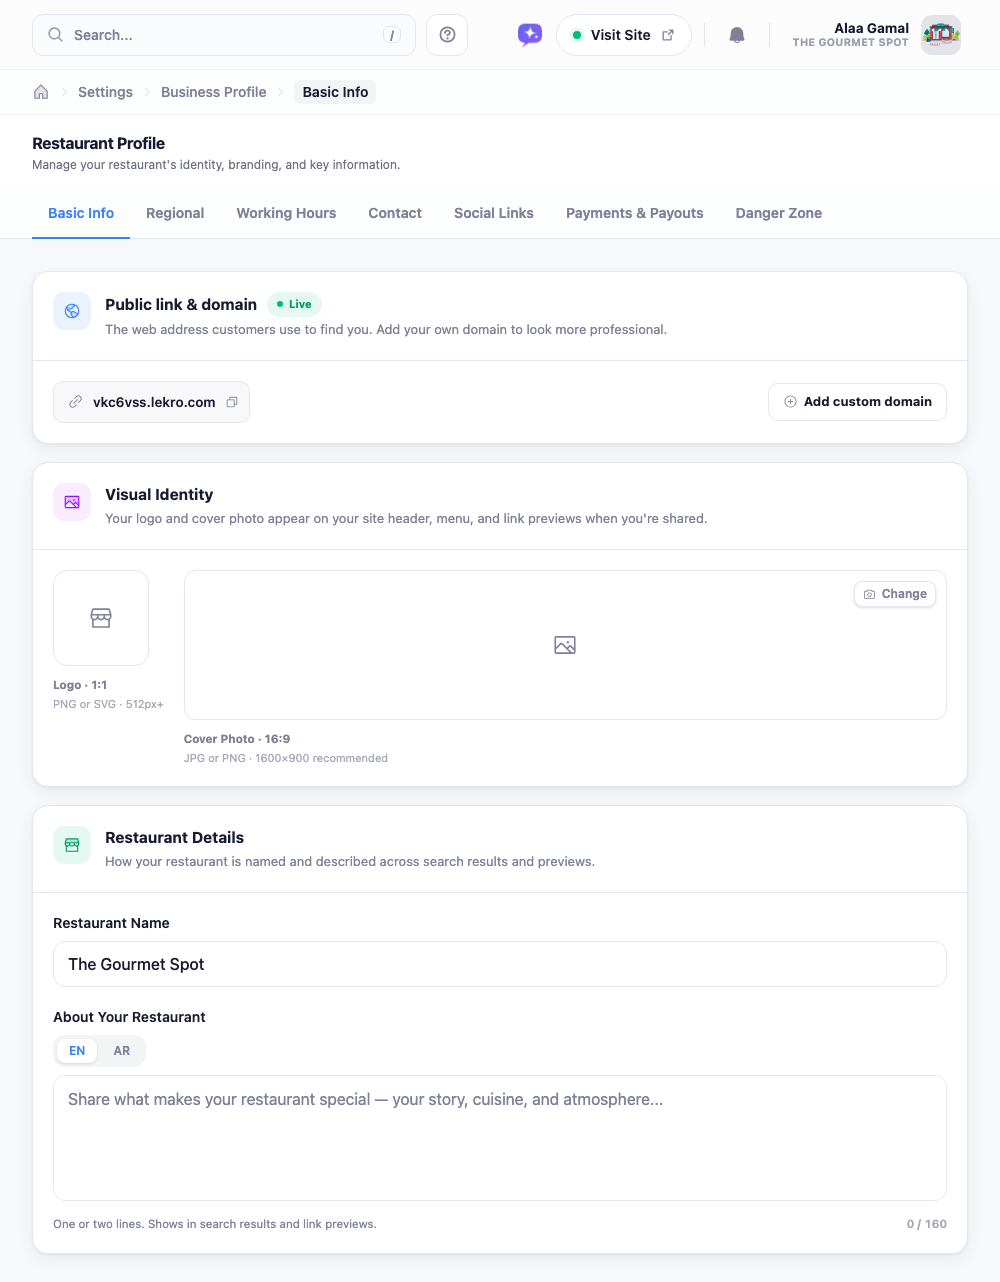
Your logo sits in a square (1:1) slot and your cover photo in a wide (16:9) one. Click either to open the media library, where you can upload a new image or reuse one you’ve already added. The logo turns up in your site header, on your menu, and in link previews; the cover is the big banner across the top of your homepage, so it’s worth using a sharp, well-lit shot here.
Name and description
The name field is exactly what it sounds like, and it’s the one thing here you really shouldn’t leave blank.
The description is a line or two that shows up under your name in search results and link previews, so keep it tight — there’s a 160-character ceiling, and you’ll rarely want to use all of it. If your restaurant runs in more than one language, you’ll see a tab for each above the box; write the description once, then use the translate button to draft the other versions and tidy them up.
Your public link
Near the top you’ll find the web address customers use to reach you, with a Live badge and a copy button. Out of the box that’s a lekro.com subdomain. If you’d rather use your own domain — yourrestaurant.com instead of a subdomain — the Add custom domain button starts that process. It’s a bit more involved, so it has its own walkthrough: see Connecting a Custom Domain.
The rest of this category covers the other tabs: regional settings and taxes, working hours, contact details, social links, payments, and deleting a restaurant.